Tiny House Thermal Energy Project
Task |
Language Support: Vocabulary |
|
You are a team of architects and need to design a home to maximize thermal efficiency.
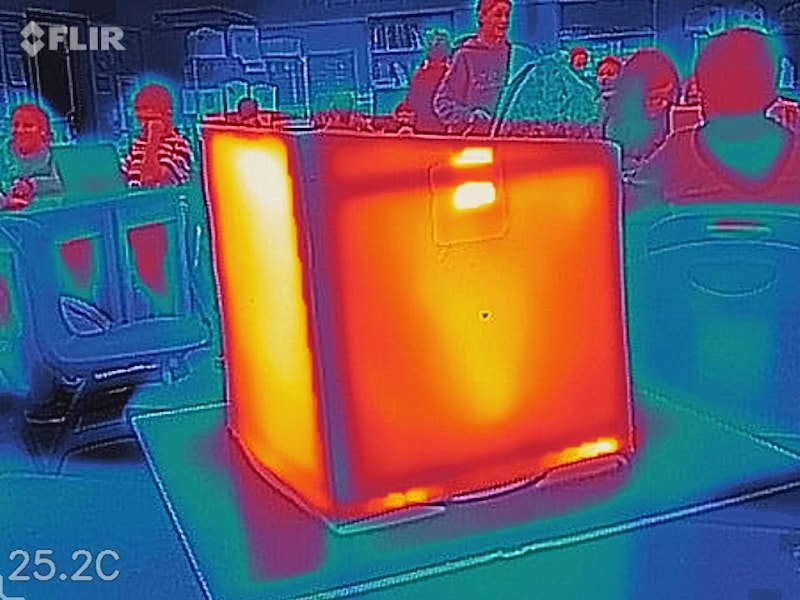
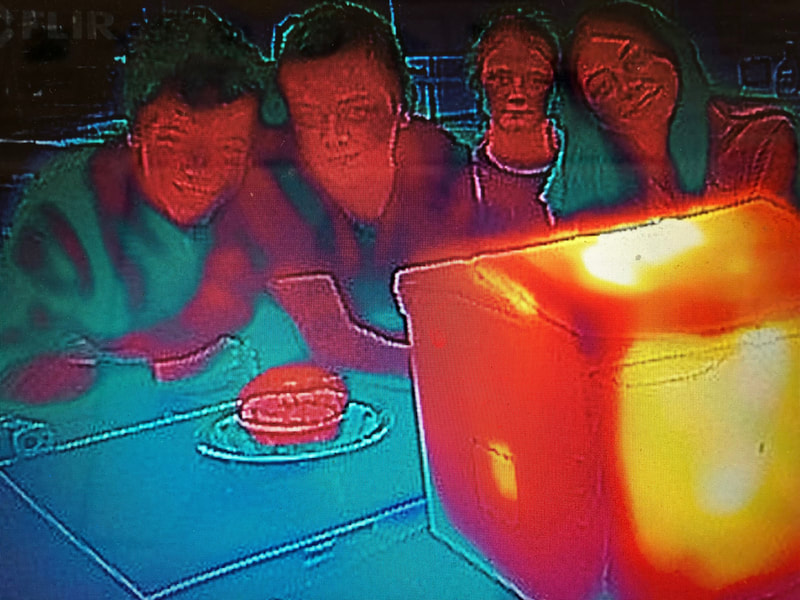
Image of Tiny Home taken with FlirOne Pro thermal energy device.
NOTE: They also sell a less expensive model. Make sure it is compatible with your devices. ResourcesTeam Contract
Planning Document Blueprint Rough Draft Planning Sheet Budget Resources Sheet Reading: Insulating Houses Deliverables1. Blueprints for each side of the house. Scale 1 in = 2 ft.
2. Budget 3. Tiny House Model that meets all "Specifications" 4. Infrared photo of house after insulating 5. Tiny House Group Report Rubrics |
Academic vocabulary: maximum, maximize, insulate, insulation, contract, blueprint, specifications, climate, thermal, efficiency, architect, scale, base, dimensions, proportional, budget, structure, overtime, labor, thickness, control, criteria, constraint
Newcomer ELL: north, east, west, south, corner, design, roof, walls, windows, cotton, wool, newspaper, aluminum, sketch, measure, ruler Lessons: Summative Engineering TaskDay 1 - 6.2.S - 5 Planning your Tiny Model Home - Students read over the resources as a group. Write any questions down that you have. Earthship houses (16 min. - Video guiding questions: How are materials used to minimize the impact on the environment? How is the temperature of the house regulated?) Also read over the Team Contract as a class and have groups sign. NOTE: Email parents for help for build days, lesson 4-6. Homework: Watch the video below in the "Resource" section called Tiny House that will explain how to create a blueprint for this project.
Day 2 - 6.2.S - 2 LEED Certification & Blueprints for your Tiny Home Day 3 - 6.2.S Building Permits issued and building Day 4 - 6.2.S - Build Model Homes - Make Wooden Frame Day 5 - 6.2.S Build Model Homes - Test and Install Insulation Day 6 - 6.2.S Building Model Homes - Finish building & test Day 7 - 6.2.S Build Model Homes - Testing Day 8 - 6.2.S Last Day Thermal Energy - Build, Test & Unit Feedback Day 9 - 6.2.S Write reports for Tiny Homes & Unit Feedback Flex Day - Set up next up new unit cover page, Big Aha! or work on finishing report Day 10 - 6.2.S Dismantle houses |
Planning Sheet
Each team will receive a hard copy of the Planning Sheet. Keep this in the classroom with your building materials at all times. Use the checklist to help you plan and ensure that you have met all the design specifications. Here is a copy of the Budget Template. Your teacher will share this with the Project Foreman. You will also need to use the Resource Sheet below.
Innovation Grants
If your team has a novel engineering idea, that you would like to explore. There are a limited number of grants for $500 to explore these technologies. Write a letter to your teacher, explaining your idea. Include what the additional money will be used for. Money may only be applied for building materials. The letter can be handwritten, typed, or sent as an email. Grant applications must be submitted by the deadline in order to be considered.
|
|
|
Notes to Teachers
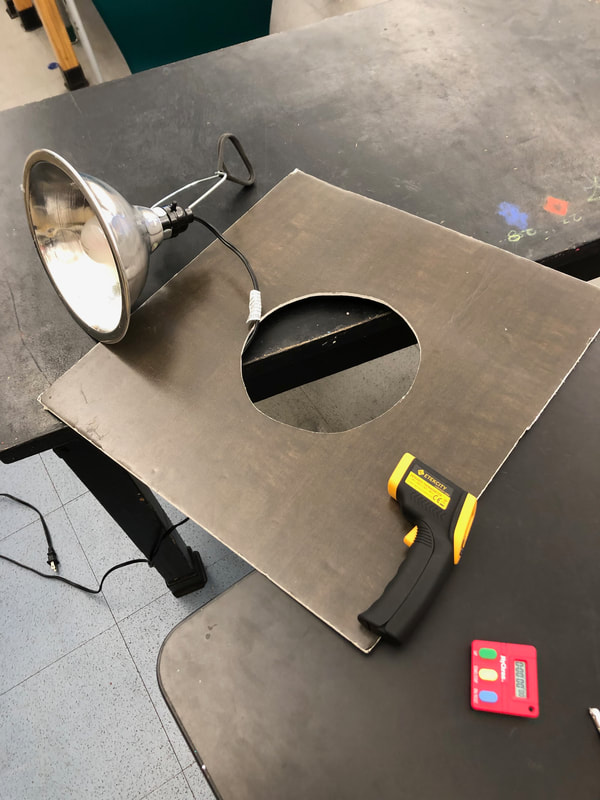
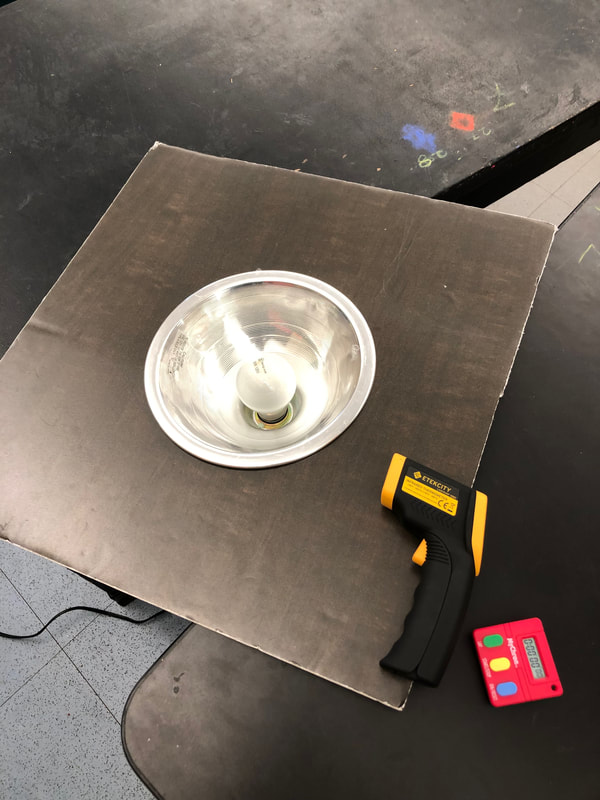
Special materials needed for project: railroad board (2/group), 12" basswood sticks (originally 14 sticks/group - the following years most wood will be recycled), IR thermometers (several - we have 9, 1/table and a demo), cutters for wood, wool batting, cotton batting, a few inexpensive pairs of fabric scissors (super helpful), Flir One Pro (or less expensive model), a couple of heat lamps (use 120 watt bulb!), foam core boards with heat lamp circles cut out (see image below)
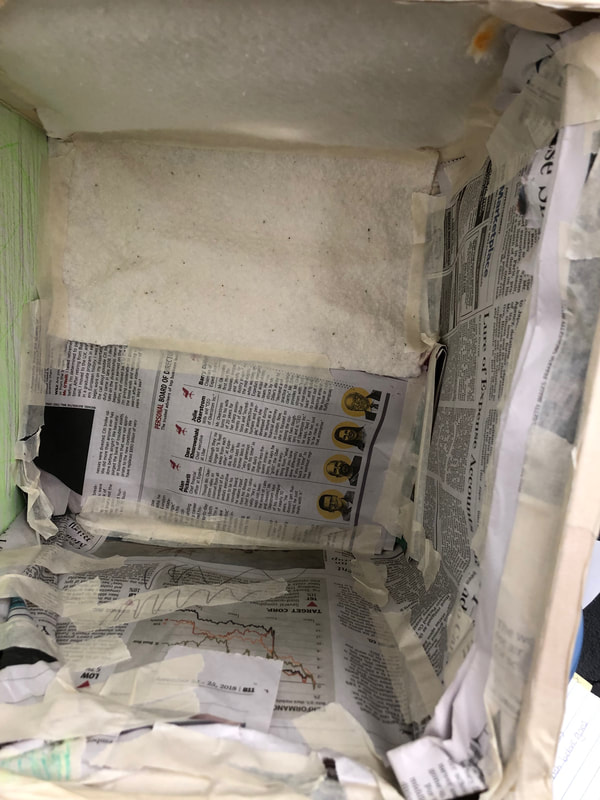
Other materials: Planning sheet, Resources sheet (printed in color or access online - reuse annually), either hard copies of budget or access to computers (1/group) to keep budget current, glue guns and glue, masking tape, safety goggles, newspapers, extra cardboard for glue gun stations, aluminum foil (possible insulation material), scissors, lots of labeled basins to keep materials organizes (for reused wood, we had large tins with the sizes written on it)
Preparation & Notes:
- Students do not get a roll of tape at their table. They have to go to the "store" to buy it. Put a mark on the table where a yard is and if you don't have parent help, just have them use that to self-serve. Remind them to record. This step will ensure a wiser use of materials and a budget that more accurately reflects what they used.
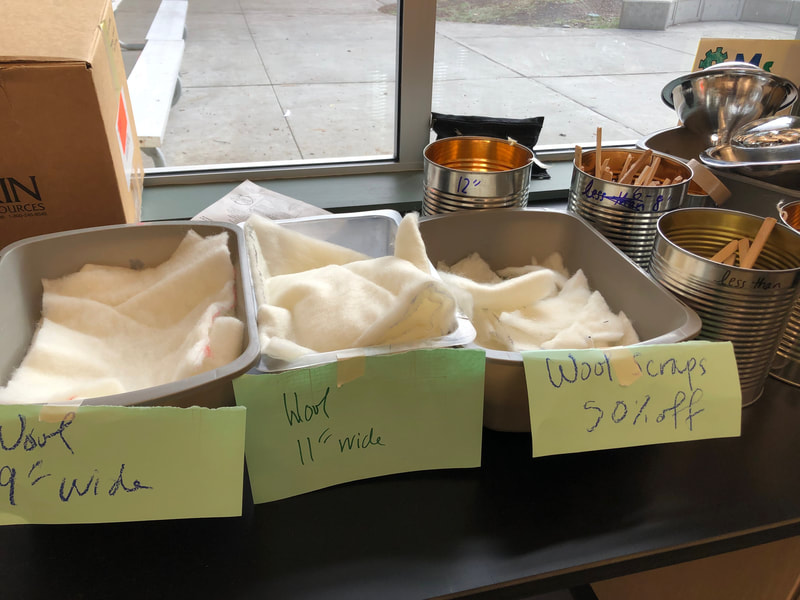
- All wool and cotton batting was pre-cut into long strands of either 9, 10, 11, 12 " wide pieces so students could take a size they needed. Each size was put in a different labeled basin. This avoids a lot of waste and probably saves at least half a period of class time.
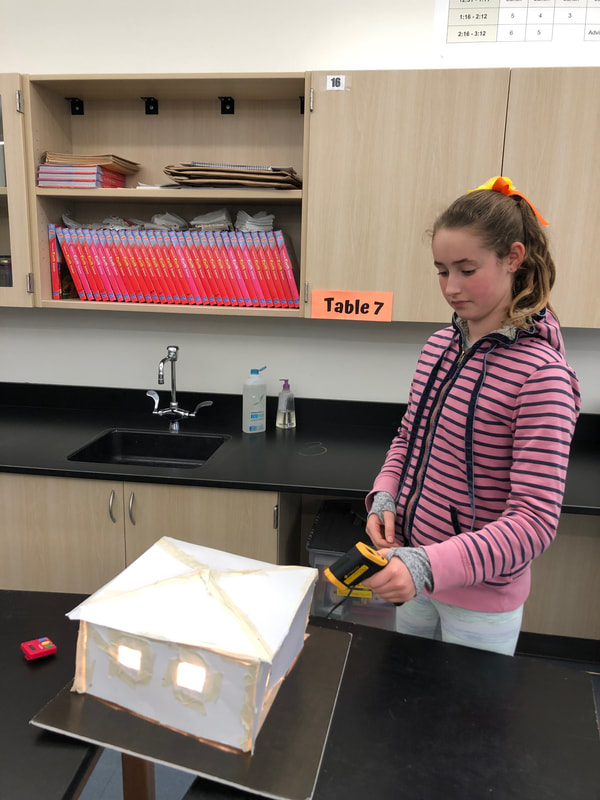
- When you are are the final stage with insulation, make sure you have the FlirOne app on your device. We had to keep the device plugged in as we took photos, which was very limiting. This meant I was stuck in one location taking photos. Students had to arrange their houses on the heat lamps so the control side and part of another side were facing me. This allowed me to me to take a photo showing the difference between the control and an insulated side that had a window and/or door.
|
Other Supporting Lessons:
You may want to look over the Thermal Energy Unit. These lessons in particular give a foundation for success in understanding the science of the Tiny Houses: |
|

